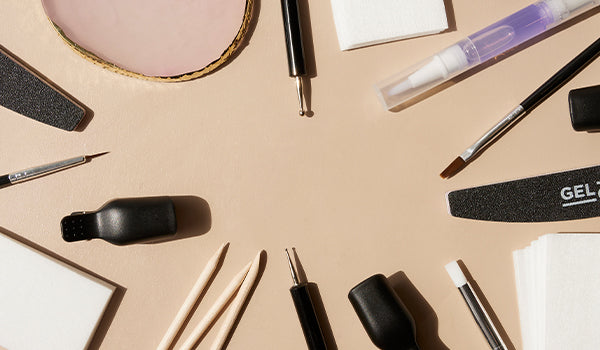
Set up on a clean, flat surface out of direct sunlight. Lay out your products, and remove the blue film from your UV/LED Gel Nail Lamp's base plate.
Wash your hands and dry them thoroughly.
Apply sunscreen to your hands 15-30 minutes before the following steps. Avoid getting sunscreen on your nails and wipe off if you do. Alternatively, wear the Anti-UV Gloves.
Apply a small amount of Cuticle Remover to each cuticle and let it quickly soften overgrown skin. Then, gently push back any cuticles that have grown over the nail bed using an Orangewood Cuticle Stick, or the curved side of the Nail File. This provides a clean surface for the Gel Nail Polish to stick to, while making your nails look longer and more even-looking.
Using the fine 180 grit side of the Nail File, file your nails to the desired shape, making sure the edges of each nail are smooth.
Using the fine 180 grit side of the Nail File, gently buff the entire surface of each nail. Make sure the whole nail appears dull from the buffing, paying particular attention to the sides of your nails and around the cuticles, as this is where lifting may occur if not buffed correctly.
Apply Gel Nail Polish Remover to a Lint Free Wipe and thoroughly clean the surface of your nails, including the area under your nails and around your cuticles. This removes dust and oils on your nails while dehydrating the nail bed, giving the Base Coat a fresh surface to apply to.
If you're using PH Bond, apply a thin coat to your nails and air-dry for 60 seconds.
Do the same with Nail Primer — apply a thin coat to your nails and air-dry for 60 seconds.
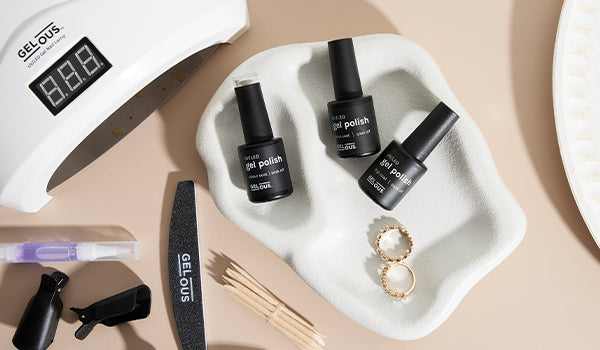
Make sure your Gel Nail Lamp is on a flat, stable surface and the blue protective film is removed. Plug the adaptor into a switched-off power point, then turn the power on.
Apply a thin coat of Base Coat to your nails and cap the free edge (view capping diagramhere). When applying, leave a small gap between the Gel Nail Polish and your cuticles to avoid getting Gel Polish on your skin. If you do, remove it with the Nail Polish Remover Pen, an Orangewood Cuticle Stick, or a Nail Art Brush before curing. Then, place your hand flat inside the UV/LED Gel Nail Lamp and press the 60S button to start curing. All layers apart from your Top Coat will remain slightly sticky after curing to help the next layer adhere.
If you’re using Builder Gel, apply 2-3 thin coats and cap the free edge. After each coat, cure for 60 seconds under the UV/LED Gel Nail Lamp. For longer nails or added strength, you may wish to build an apex, which helps support the structure of your nail and reduce the chance of breakage. To do this, see Applying a Builder Gel Apex.
Apply 2-3 thin coats of Colour Coat and cap the free edge. After each coat, cure for 60 seconds under the UV/LED Gel Nail Lamp.
Apply a thin coat of the Top Coat and cap the free edge. Cure for 60 seconds with the UV/LED Gel Nail Lamp. Your Gel Nail Polish should be hard and smooth after the final cure.
Apply Cuticle Oil around your nails and rub into your skin to nourish and moisturise.
With that, you have completed your manicure or pedicure, resulting in a durable and professional-looking set of gel nails that will last over two weeks!
Applying a Builder Gel Apex
After applying and curing your Base Coat and completing all previous prep steps, apply a thin slip layer of Builder Gel and leave it uncured. This helps guide the next layer into place.
Apply a small bead of Builder Gel near the centre of your nail and slowly push it towards your cuticle, ensuring it does not touch the skin.
Gently move the Builder Gel from left to right, working up the nail, then cap the free edge.
To create the apex, place a small bead of Builder Gel at the stress point in the centre of the nail.
Keep the bulk of the Builder Gel concentrated in this area, and gently guide it from side to side, pulling it slightly toward the free edge to form a smooth, even curve.
You can again use your Thin Nail Art Brush to refine the shape and gently pull excess Builder Gel toward the tip for a balanced structure.
Tilt your nail upside down briefly to help the apex self-level into a natural shape.
On your UV/LED Gel Nail Lamp, press the 99S low heat mode button to cure at 12W for 50 seconds, then 24W for 49 seconds.
After applying a Colour Coat (if desired) or just a Base Coat, apply a thin coat of Magnetic Colour Coat and cap the free edge.
Hover the Magnet slightly above your nails and experiment with different effects. If you aren't happy with the result, moisten a Lint Free Wipe with Gel Nail Polish Remover, wipe your nails, reapply and try again.
Once you're happy with the result, cure for 60 seconds with the UV/LED Gel Nail Lamp.
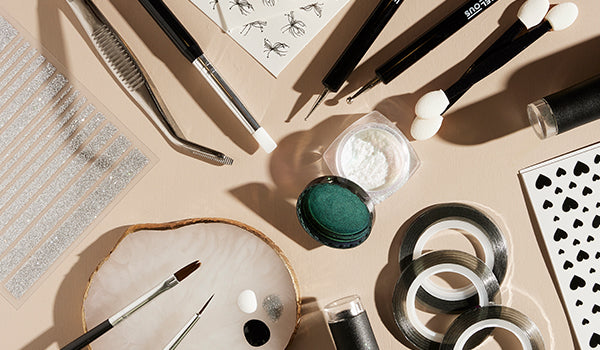
Using Nail Art Tweezers, gently peel off the Nail Art Sticker you’d like to use. Take your time, as they’re very thin and can tear easily. Avoid touching the sticky side with your fingers to maintain adhesion.
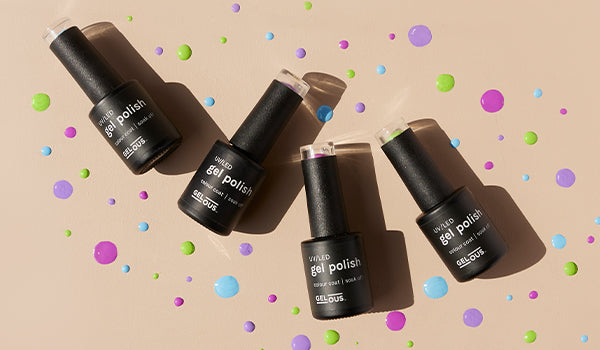
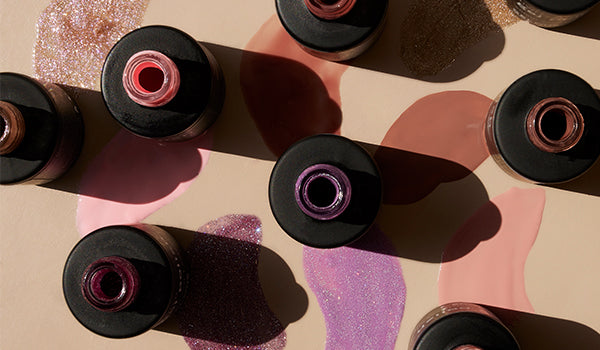
Use all Gelous products (Base Coat, Colour Coat, Top Coat, and Gel Nail Lamp) to ensure compatibility.
Careful preparation
Gently buff your nails to create a dull, slightly rough surface, then clean and dehydrate them with Nail Polish Remover before application for ultimate adhesion.
Apply away from sun
Apply your Gel Nail Polish away from sunlight and your Gel Nail Lamp when turned on to avoid it curing on the brush.
Apply thinly
Apply your Gel Nail Polish in thin, even coats, leaving a gap between the Gel Nail Polish & cuticle to prevent lifting.
Avoid skin contact
Remove any Gel Nail Polish on your skin before curing to prevent reactions or allergies.
Use a strengthener
Use Builder Gel or Rubber Base Coat if your nails are weak or flaky.
Cap your coats
Cap every coat of Gel Nail Polish by running the brush horizontally over the free edge of your nail.
Practice aftercare
Avoid washing dishes or using cleaning products without gloves, and use Cuticle Oil daily.
FAQ's
If you are a new user of Gel Nail Polish, please don’t be disheartened if your first few manicures don’t last as long as expected. There are many tips and tricks to applying Gel Nail Polish that make the difference between a long-lasting application and an application that doesn’t last long enough (i.e. chips easily or peels). Often, new users of Gel Nail Polish make small mistakes during the application process that cause premature chipping or peeling. Once you've mastered your Gel Polish application, you'll enjoy flawless, long-lasting manicures time and time again. Practice really does make perfect!
Please be patient, read our Application Guide carefully, and take note of our tips and tricks.
Always use Gelous Base Coat, Colour Coat, Top Coat, and Gel Nail Lamp together. Our Gel Nail Polish and UV/LED Gel Nail Lamp are specially formulated to be fully compatible, with the lamp emitting at 365+405nm to ensure a safe and effective cure. While this dual-wavelength setup is common, we strongly advise against mixing brands—such as using other polishes with our lamp or vice versa—as they may not be properly compatible. Incompatibility can result in under-curing, which may lead to poor wear or even cause damage to your nails or skin.
Ensure your nails are strong enough for a gel manicure. If your nails are too weak, they can bend and cause the Gel Nail Polish to pull away from the nail. Nourish your nails with products such as Cuticle Oil, Moisturiser and Nail Defense to improve their strength, and consider adding a Builder Gel into your manicure routine.
Nail prep is very important and will directly influence the longevity of your mani or pedi. Before applying your Gel Nail Polish, gently buff the entire surface of each nail. Make sure to buff in one direction and remember, you are trying to rough up your nails not make them smooth, so the whole nail should appear dull from the buffing (not shiny). You need to be very thorough with the buffing, paying particular attention to the sides of the nails and around the cuticle, as this is where lifting may occur if not buffed correctly.
Make sure to clean your nails thoroughly after buffing, as any residual buffing dust, oil or other contaminants will reduce adhesion of the gel and affect the longevity. To clean, simply apply Nail Polish Remover to a Lint Free Wipe and thoroughly clean the surface of your nails, including the area under your nails and around the cuticles.
Don’t apply your coats of Gel Nail Polish too thick and make sure they are an even thickness. Pay attention to the cuticles and the sides, as this is where Gel Polish can get thicker if you have too much Gel Nail Polish on the brush. To achieve a thin application, remove excess Gel Nail Polish from the brush by circling it around the inside of the bottle neck, pressing it off.
Cap every coat of Gel Nail Polish by running the brush horizontally over the free edge of your nail. View capping diagram here. If you have shorter nails, start each coat by using a Nail Art Brush or the tip of your bottle brush to cap the free edge.
When applying, start in the middle of the nail then ‘push’ the Gel Nail Polish gently towards the cuticle without it touching. It is important to leave a thin gap between the edge of the Gel Nail Polish and your cuticle when applying. If the Gel Nail Polish is applied to the cuticle, it can separate and lift as your nail plate grows. Aim to avoid getting any Gel Nail Polish on your skin or cuticle, however if you do, remove it with an Orangewood Cuticle Stick, Nail Art Brush or Lint Free Wipe before curing.
In terms of aftercare, avoid washing dishes or using cleaning products without gloves, use Cuticle Oil regularly to help your nails looking fresh for longer, and if you get a snag, file this down so it does not catch and cause further damage.