

Six Common Mistakes Beginners Make
We’ll walk you through the most common application mistakes that can lead to lifting, chipping, and premature wear. Follow along and find out how to make your DIY gel manicure last longer.


Achieve a flawless, long-lasting gel manicure at home with our step-by-step prep and application guide. Prep with care, apply with precision, and enjoy gel nails that stay flawless for weeks.

Expert advice to prep, apply, and maintain your gel manicure for salon-quality results.
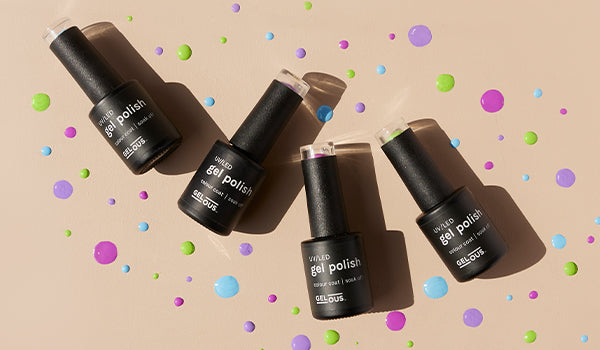
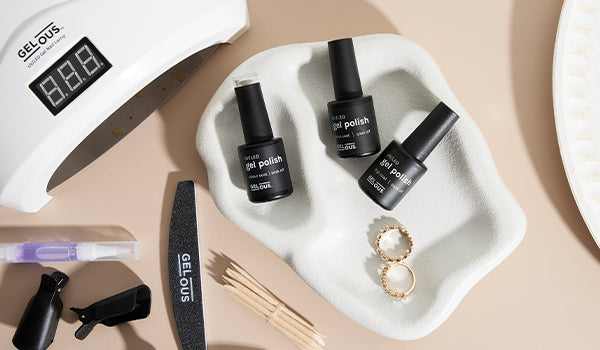
Use Gelous Base Coat, Colour Coat, Top Coat, and Gel Nail Lamp for guaranteed compatibility and best results.
Use Gelous Base Coat, Colour Coat, Top Coat, and Gel Nail Lamp for guaranteed compatibility and best results.
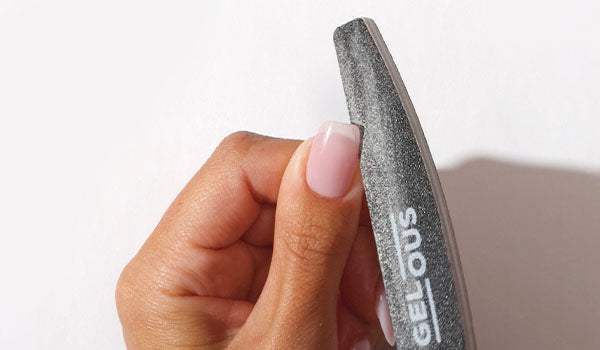
Push back cuticles, shape nails, and gently buff to create a dull, slightly rough surface. Dehydrate nails, then apply pH Bond and Nail Primer for ultimate adhesion.
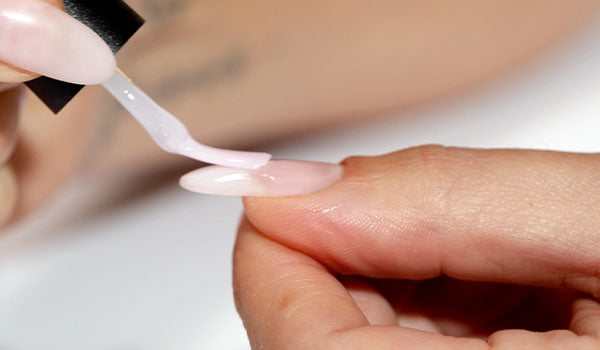
Apply thin, even layers of polish, curing each for 60 seconds to ensure proper adhesion and durability.
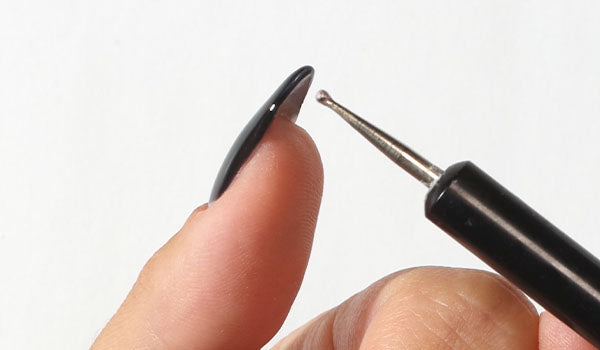
Leave a small gap near cuticles and cap the free edge of every layer to prevent lifting and chipping.
Remove any Gel Nail Polish on your skin before curing to prevent reactions or allergies.
Use Rubber Base Coat or Builder Gel to protect and reinforce weak or flaky nails.
Wear gloves for cleaning and apply Cuticle Oil daily to keep nails hydrated and prevent peeling.
From common beginner mistakes to shaping tips, these tutorials cover the essentials and more.

We’ll walk you through the most common application mistakes that can lead to lifting, chipping, and premature wear. Follow along and find out how to make your DIY gel manicure last longer.

Learn why your Builder Gel might be peeling and how to fix it. We cover common mistakes in prep, application, and shaping to help you achieve a stronger, longer-lasting gel manicure.

Struggling to achieve the perfect nail shape? We've got you. Follow this step-by-step tutorial to learn how to shape your nails into five classic styles: coffin, square, squoval, round, and almond.