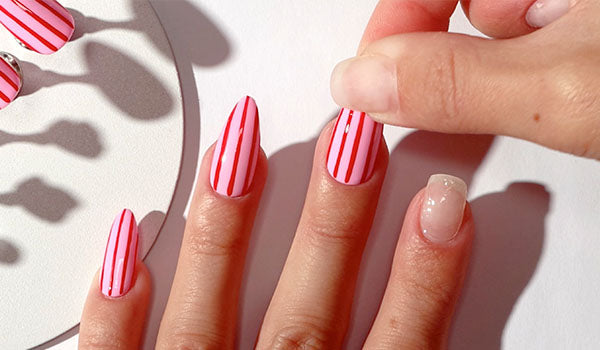
How to Apply Nail Tips with Rubber Base Coat
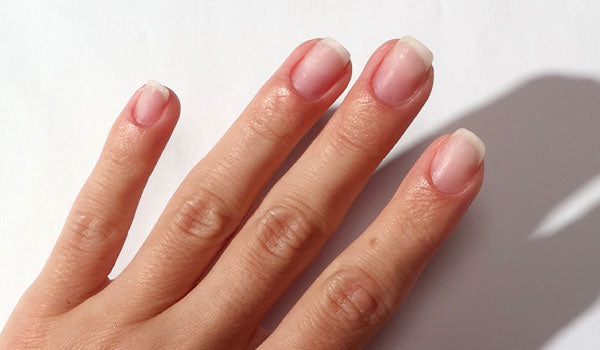
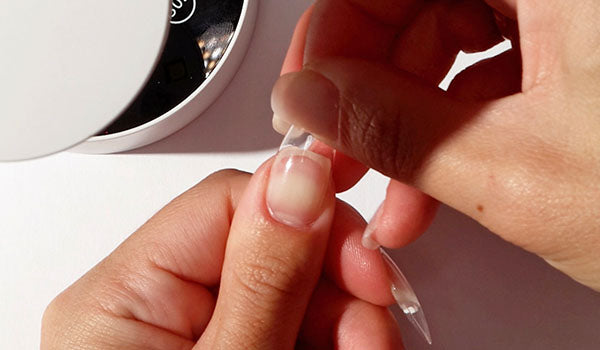
Follow along as we show you how to size, prep, apply, and cure your Nail Tips using Rubber Base Coat for a professional, long-lasting result.
Watch our step-by-step guides to applying Gelous Nail Tips with Rubber Base Coat or Sticky Tabs.

Follow along as we show you how to size, prep, apply, and cure your Nail Tips using Rubber Base Coat for a professional, long-lasting result.

Watch how to apply Nail Tips using Sticky Tabs, from sizing to pressing on, for a quick, no-lamp finish you can remove whenever you're ready.
Watch our step-by-step guides to applying Gelous Nail Tips with Rubber Base Coat or Sticky Tabs.

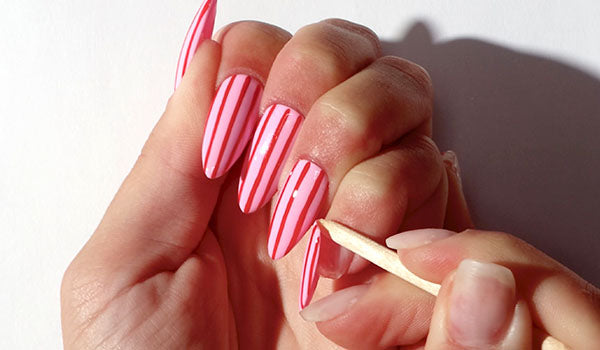
Follow along as we show you how to safely remove your Gelous Nail Tips applied with Rubber Base Coat, without damaging your natural nails.

Watch how to remove Gelous Nail Tips applied with Sticky Tabs quickly and easily, whenever you're ready for a change.