E-File Pen User Guide

  1. Rotate the Twist Lock fully to the left to unlock the chuck.
  2. Insert your chosen Drill Bit, leaving a small gap between the Drill Bit and the chuck.
  3. Rotate the Twist Lock fully to the right to secure it in place.
  4. Hold the On/Off/Increase Speed button for 2 seconds to power on the device.
  5. Tap the same button to adjust the speed, starting on Level 1 if you're a beginner, using Cuticle Drill Bits, or using Sanding Bands.
  6. If holding the E-File Pen in your right hand, with your left hand facing toward you, set the rotation to forward.
  7. If holding the E-File Pen in your right hand, with your left hand facing away from you, set the rotation to reverse.
  8. Do the opposite if you’re using your left hand.
  9. Turn off your E-File Pen by holding the On/Off/Increase Speed Button down for 2 seconds.
  1. When inserting a Drill Bit, don’t push it all the way down. Leave a small gap between the Drill Bit and the base of the E-File Pen so it can rotate smoothly without strain.
  2. Always begin at the lowest speed setting, Level 1. Only increase your speed as your confidence and control improve.
  3. Hold the E-File like a pencil and keep your wrist relaxed for smoother movement.
  4. Don’t let your hand float in the air. Anchor with your pinky finger, the side of your palm, or by resting your hand on the table to keep your movements steady and precise.
  5. Make sure the Drill Bit is rotating in the opposite direction to your movement (cuticle to tip) for proper traction. If the bit feels like it’s skipping or bouncing, stop and check your rotation direction.
  6. Use light, even pressure, letting the Drill Bit do the work. Pressing too hard can cause damage, discomfort, or heat build-up.
  7. Always keep the Drill Bit flat and parallel to the nail surface. Avoid holding it at an angle that could cause the Drill Bit to dig into the nail.
  8. Never hold the Drill Bit in one place. Keep it moving smoothly across the nail to prevent heat build-up and friction.
  9. If using the E-File Pen on bare nails, only use a 240 Grit Sanding Band or Cuticle Drill Bit, and keep the speed at Level 1 to avoid over-filing.

Insert the USB-C end of the cable into the E-File Pen, and the USB-A end into a power source (e.g. laptop, power bank, or 20W wall charger).

The LCD display will flash while charging and stop once fully charged.

The Gelous E-File Pen has a built-in safety timer that powers off after around 10 minutes of continuous use. This prevents overheating, protects the motor, and gives you a natural break to stretch your hands and wrists.

For longer sessions, the E-File Pen may feel warm when it switches off—in this case, allow it to cool for a minute or two before turning it back on.

Leave a small gap between the Drill Bit and the chuck. This prevents any friction between the E-File Pen and your Drill Bit.

  1. Switch off before cleaning.
  2. While the Drill Bit is still in, dust with the Gelous Dust Brush. Wipe with a lightly dampened cloth if needed and air-dry.
  3. If any Gel Nail Polish is stuck on your Drill Bit, soak it in Nail Polish Remover for approximately 10 seconds and wipe or brush clean.
  4. Charge with the supplied cable.
  5. Store your Drill Bits in their cases in a cool, dark area.

Drill Bits naturally wear down over time, so it’s important to replace them regularly to ensure safe and effective use.

  • Sanding Bands: These wear the fastest due to their abrasive surface. For hygiene and performance, replace them after 1–2 uses, especially if used heavily or on multiple nails. If used gently on yourself, you may get a few uses per band. Replace them as soon as they start to look worn or lose grit. To change a Sanding Band, simply pull off the used one and push a new Band onto the mandrel until secure.
  • Diamond and Ceramic Bits: With proper care, these last longer. Replace them every 3–6 months, depending on frequency of use. You’ll know it’s time to replace your Drill Bit if it feels dull, isn’t removing product efficiently, or requires more pressure than usual. Other signs include visible wear, damage, or increased friction and heat during use.

To extend the life of your Drill Bits, clean them after each use and store them in their container in a dry, dust-free area.

  • Typhoon Drill Bit: Fast removal of gel manicures that include Builder Gel with a small rounded tip for safe work near cuticles. Suitable for all skill levels.
  • Barrel Ball Drill Bit: Fast removal of gel manicures that include Builder Gel with a large rounded tip for maximum safety around cuticles. Ideal for beginners or those nervous around the cuticle area.
  • Tapered Drill Bit: Fast removal of gel manicures that include Builder Gel with a flat tip and tapered sides for precise removal close to cuticles and side walls. Best for experienced users wanting speed and accuracy.
  • Cuticle Ceramic Drill Bit: Thin, tapered shape designed to push back and remove cuticles and dead skin. Safe for all users and on bare nails at level one.
  • Cuticle Diamond Drill Bit: Thin, tapered shape designed to push back and remove cuticles and dead skin slowly and gradually. Safe for all users and on bare nails at level one.
  • Cuticle Polisher Diamond Drill Bit: Spherical shape for gently buffing dead skin around the nail plate before Gel Polish application. Safe for all users and on bare skin at level one.
  • Sanding Drill Bit (240 Grit): For full removal of gel manicures that don't include Builder Gel, nail prep, and refining product. Best for all users with standard-sized nails.
  • Small Sanding Drill Bit (240 Grit):Same as the Sanding Drill Bit but smaller, ideal for side walls and small nails where precision is needed. Suitable for all users.
  • Sanding Band (180 Grit):Used on the Sanding Drill Bit for a more gentle removal of gel manicures that include Builder Gel and refining Builder Gel after application. Ideal for beginners or those less confident.
  • Small Sanding Band (180 Grit):Same as the Sanding Band (180 Grit), but used on the Small Sanding Drill Bit. Ideal for side walls and small nails where precision is needed. Ideal for beginners or those less confident.

Tutorials You Can’t Miss

From explanations of Drill Bits to removal and technique tips, these tutorials cover the essentials and more.

Guide To Different E-File Pen Drill Bits - photographed in New Zealand

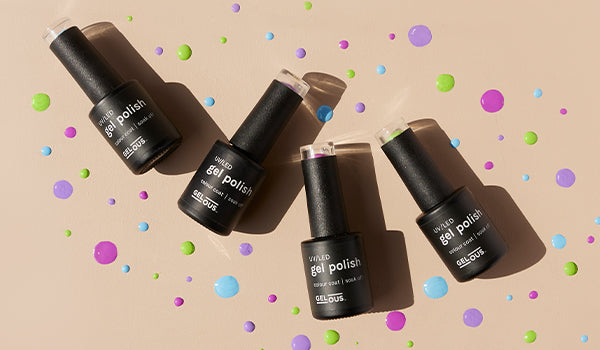
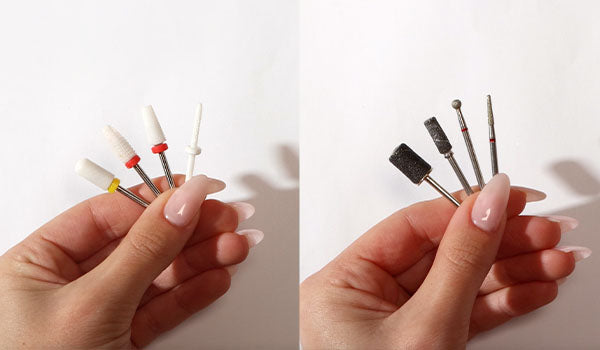
E-File Drill Bits Explained

Learn what each E-File Drill Bit does, how to use them, how to care for them, and when it's time to replace them. Your guide to confident, safe E-File use starts here.
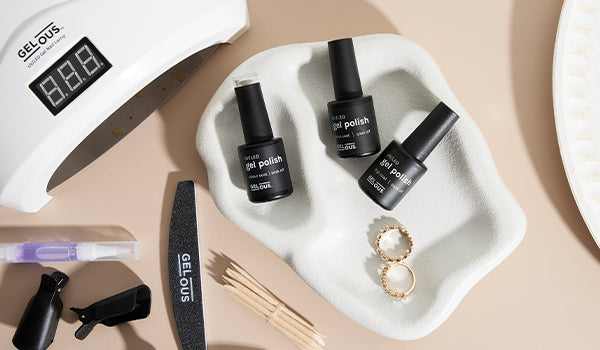
Removing Gel Nail Polish using your E-File Pen - photographed in New Zealand

How To Remove Gel Nail Polish With the E-File Pen

Discover how to safely and effectively remove Gel Nail Polish using the Gelous E-File Pen. This step-by-step guide takes you through the process and techniques for quick, safe E-File removal.

Tips and tricks for removing Gel Nail Polish using your E-File Pen - photographed in New Zealand

E-File Pen Tips & Tricks

Find out how to get safer, smoother results with your Gelous E-File Pen. From speed settings to rotation direction, you’ll learn how to easily refine your E-File technique.