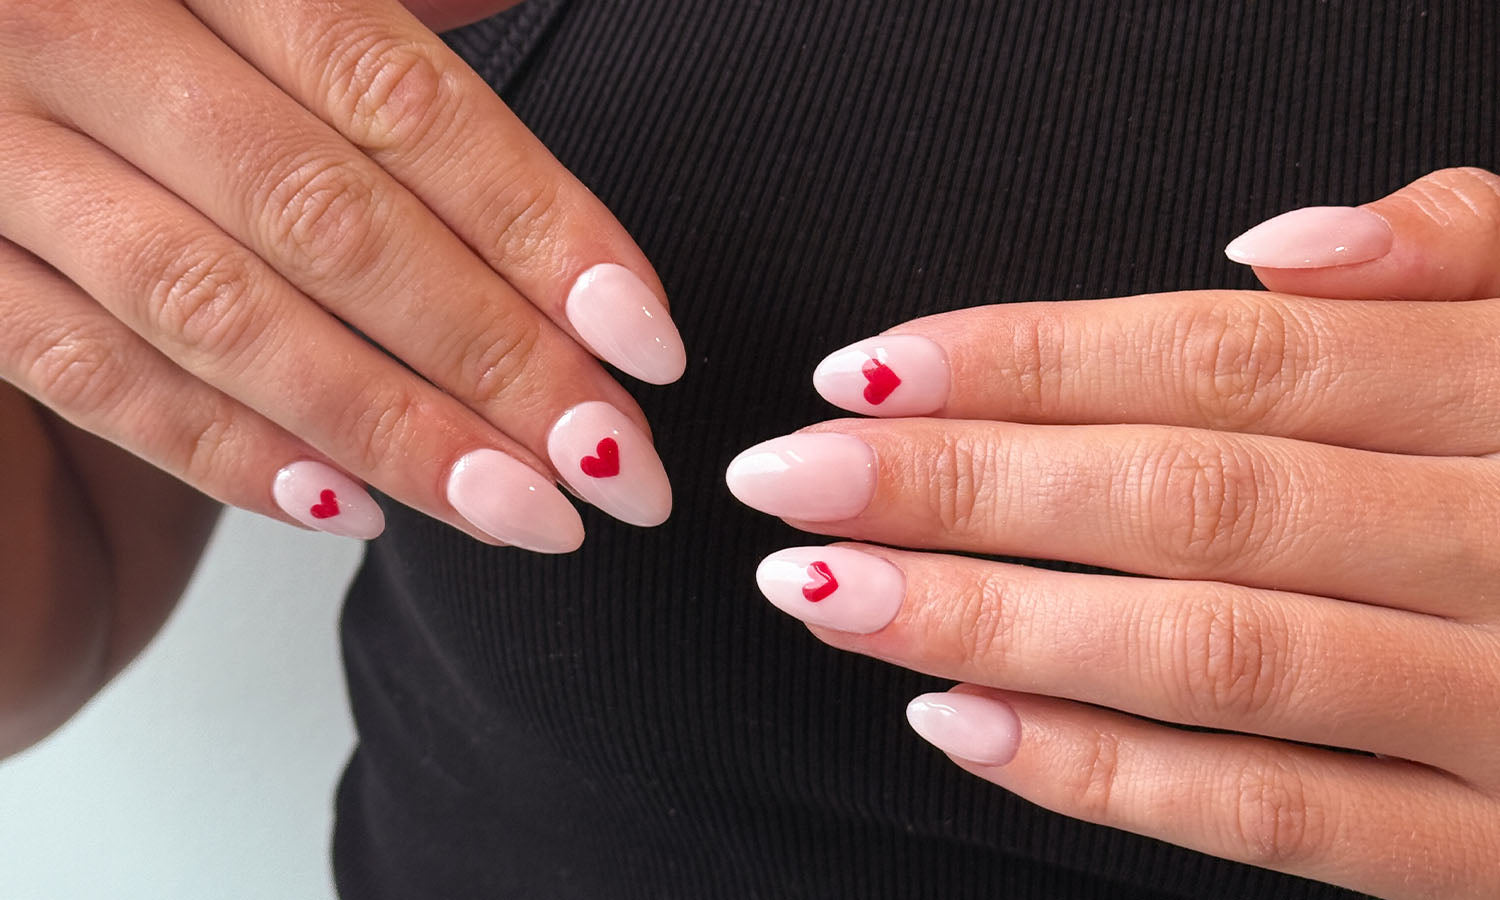
Nothing beats the feeling of a fresh manicure. But what’s even better? Getting that fresh gel mani right from the comfort of your own home—no expensive salon appointments, schedule adjustments, traffic hassles or parking woes required.
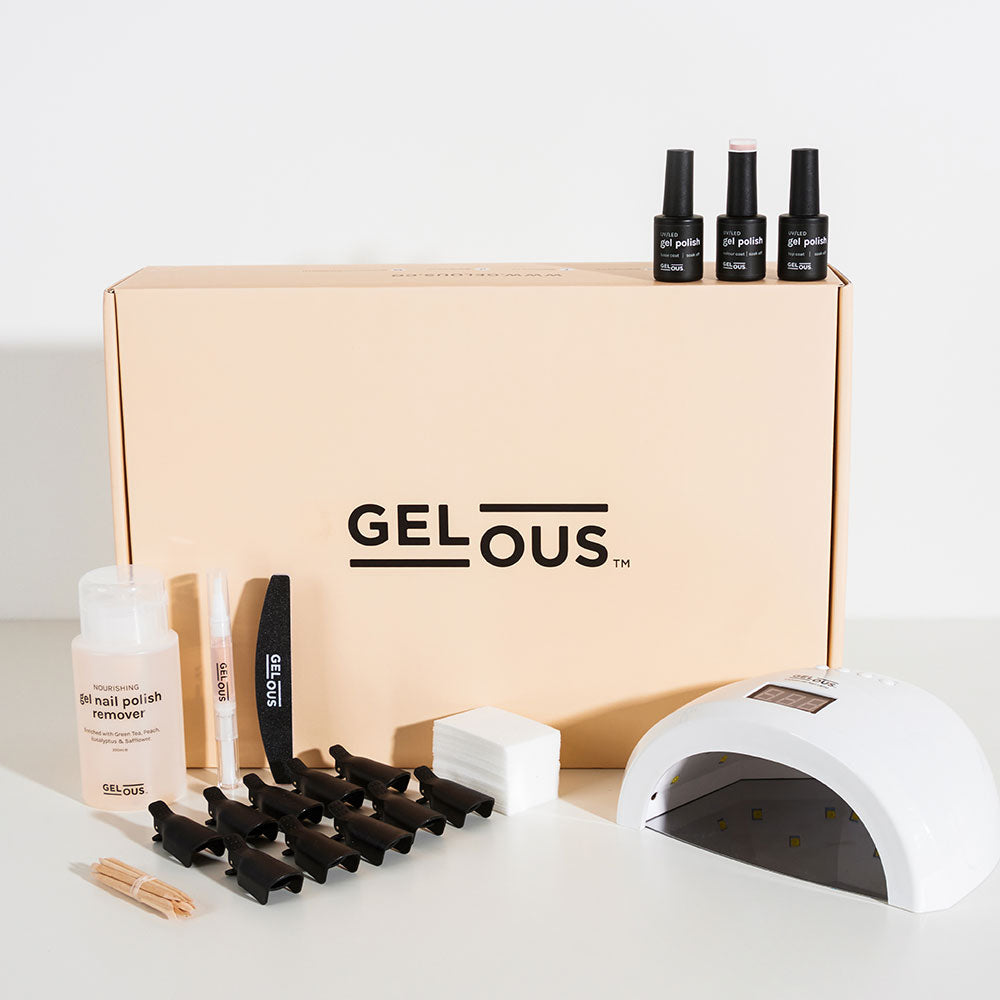
With Gelous’ versatile range of at-home gel nail products, you can create salon-quality gel manicures anytime, anywhere. Whether you’re new to DIY gel nails or just want to perfect your Gelous Gel Nail Polish application, this guide breaks down everything you need to know. Read on for our top tips and techniques for achieving a flawless at-home gel manicure that lasts.

How do you prepare your nails for a Gelous gel manicure?
If your nails bend or break easily, we suggest taking some time to first give them some much-needed TLC. Maintaining healthy nails is key, and excessive bending and flexing can also cause the Gel Nail Polish to peel away. Take care of this by simply applying our Cuticle Oil, this will strengthen and nourish your nails to get them up to scratch. You’ll want to keep this up until your nails feel noticeably stronger and have minimal bend when you push down on them.
If you’re after a gel manicure that meets salon quality in both longevity and finish, preparation is key. Before you pick up your first bottle of Gel Nail Polish, take a moment to set up your space. Work on a clean, flat surface out of direct sunlight, lay out your products, and remove the blue film from your Gelous Gel Nail Lamp's base plate so you’re ready for a smooth application.
Start by softening the cuticle area. Apply a small amount of Cuticle Remover to each cuticle and allow it to gently break down any overgrown skin. Using an Orangewood Cuticle Stick or Cuticle Pusher, push back your cuticles for a clean, even surface for your Gel Nail Polish to adhere to. If you haven’t used Cuticle Remover, you can also use the curve of your Nail File to guide the cuticles back. If you prefer using an E-File Pen, you can complete this step with the Cuticle Ceramic or Cuticle Diamond Drill Bit. Work on level 1 with light pressure, keeping the bit moving in a single direction to avoid friction or damage.
Remove any loose, dead skin with Cuticle Nippers if needed, taking care not to cut living skin. Then, if using an E-File Pen, follow with the Cuticle Polisher Diamond Drill Bit to lightly smooth and exfoliate the area.
Next, tidy your nail length. Trim your nails with Nail Clippers if needed, then file to your desired shape using the fine 180 grit side of your Nail File. Make sure the edges are smooth for a long-lasting, professional finish.
Now it’s time to prepare the nail surface itself. You’ll need to lightly buff the surface of your nails using the fine side of the Gelous Nail File. Buff your nails in one direction, paying close attention to the sides of your nails and near your cuticles as these are often the areas that will lift first if not buffed enough. Once buffed, the surface of your nail should look dull, rather than shiny. This step is to rough up the area that the Gel Nail Polish is going to stick to, helping the polish to grip to your nails and ensure a long-lasting gel manicure. If you’re using an E-File Pen instead of a manual file, you can use a 240 Grit Sanding Drill Bit. Keep the speed low, use light pressure, and work in one direction to avoid heat buildup or thinning the natural nail.
Before moving into application, protect your skin. Slip on Anti-UV Gloves or apply sunscreen to your hands 15–30 minutes before you begin. If using sunscreen, avoid getting it on your nails and wipe it off immediately if you do.
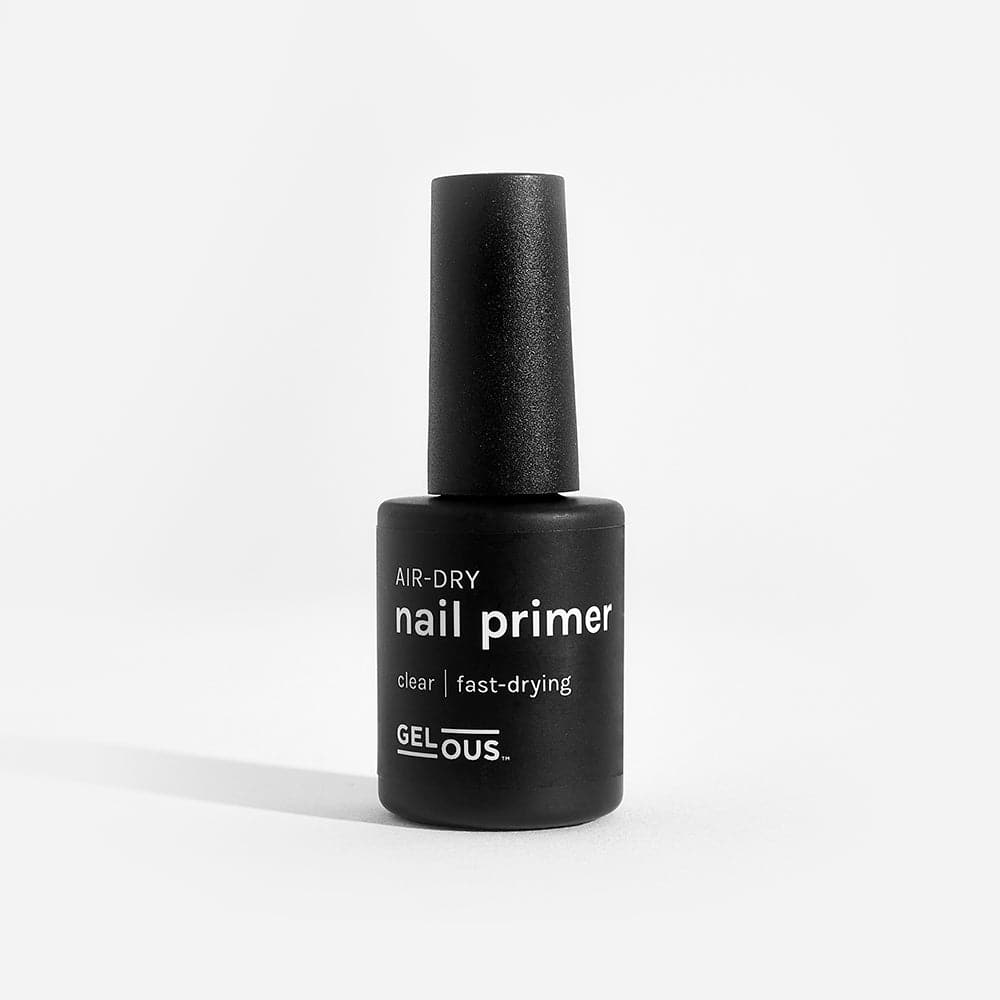
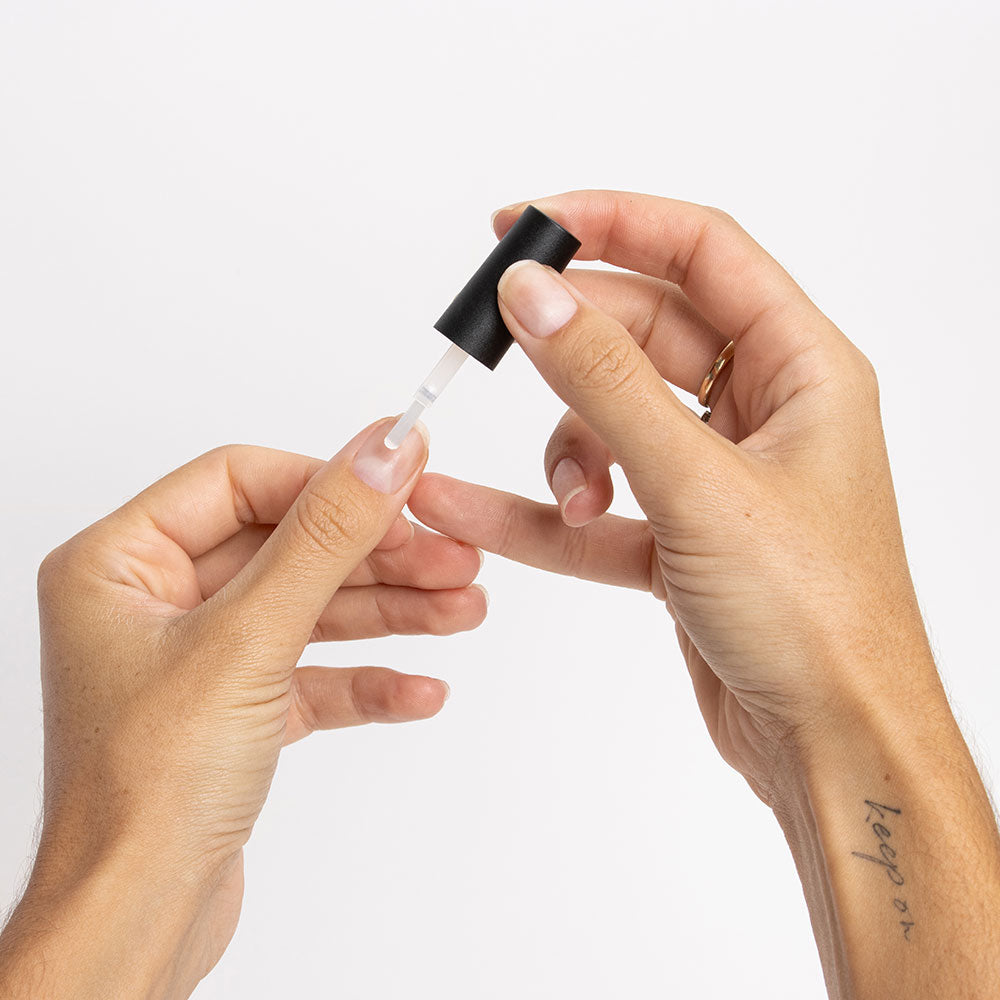
Finally, cleanse and dehydrate the nails. Use a Lint Free Wipe moistened with Gel Nail Polish Remover or a Pure Acetone Wipe to clean over, around, and under each nail. The aim is to ensure that there’s nothing left that could hinder a smooth application of your Gel Nail Polish. Removing the residue on your nails can make all the difference! If you use pH Bond, apply a thin coat and allow it to air-dry for 60 seconds. Follow with a thin layer of Nail Primer and let it air-dry for another 60 seconds.
Once these steps are complete, your nails are fully prepped for a long-lasting, salon-quality gel manicure.
How long does Gelous Gel Nail Polish take to dry?
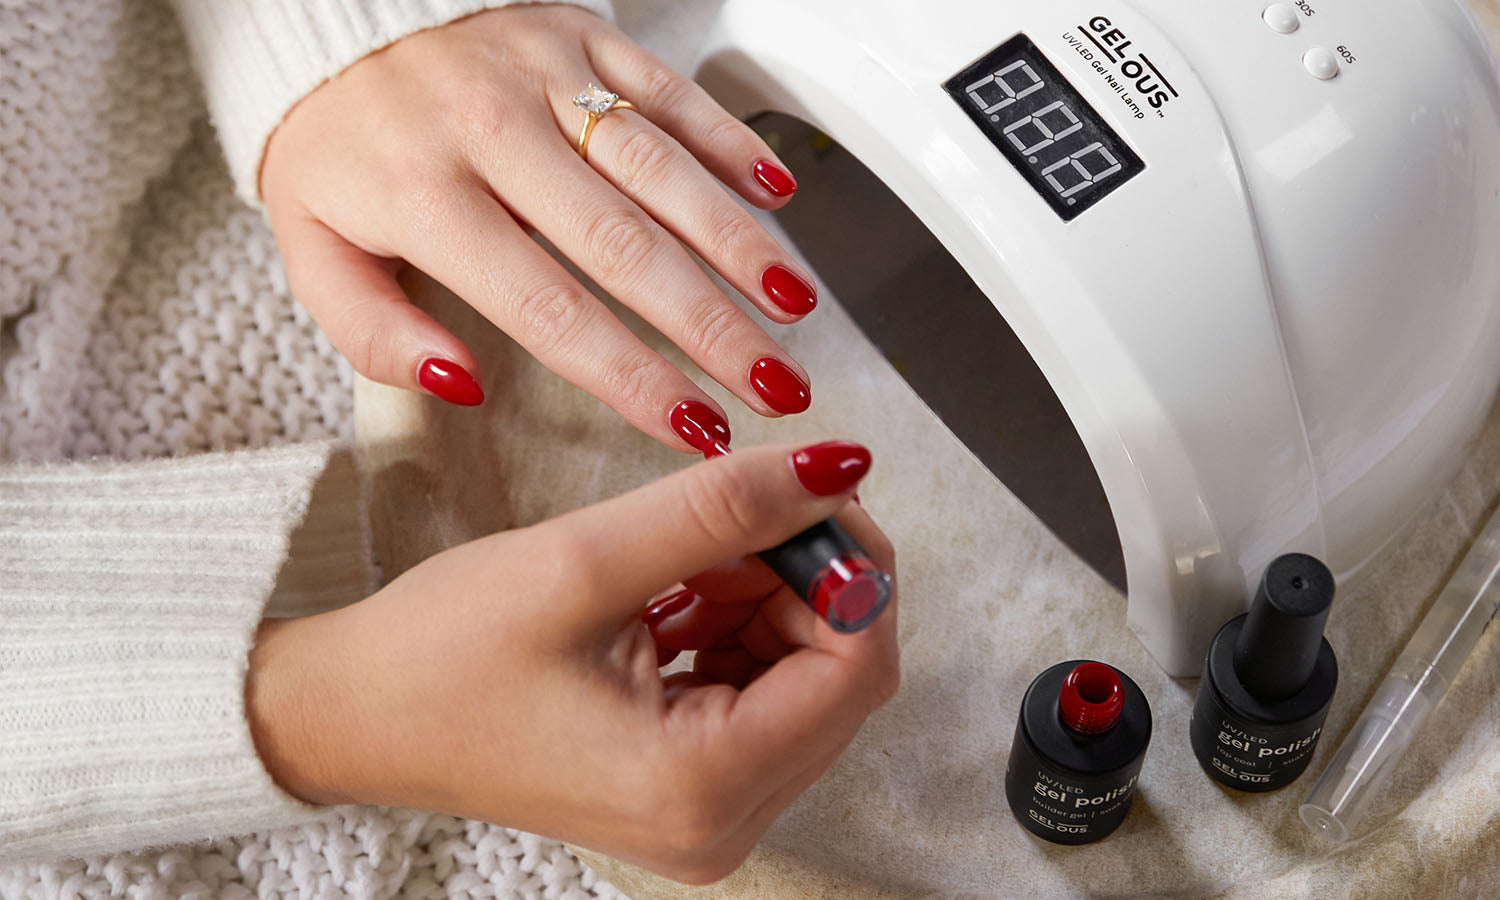
When using Gelous Gel Nail Polish, the drying process is unique compared to regular polish. Instead of traditional air drying, you’ll cure each coat under the Gelous UV/LED Lamp for 60 seconds. Once your final coat is cured, your nails will emerge rock-hard and perfectly dry. Gone are the days of accidentally smudging your nails shortly after painting them—with Gelous Gel Nail Polish this is a thing of the past!
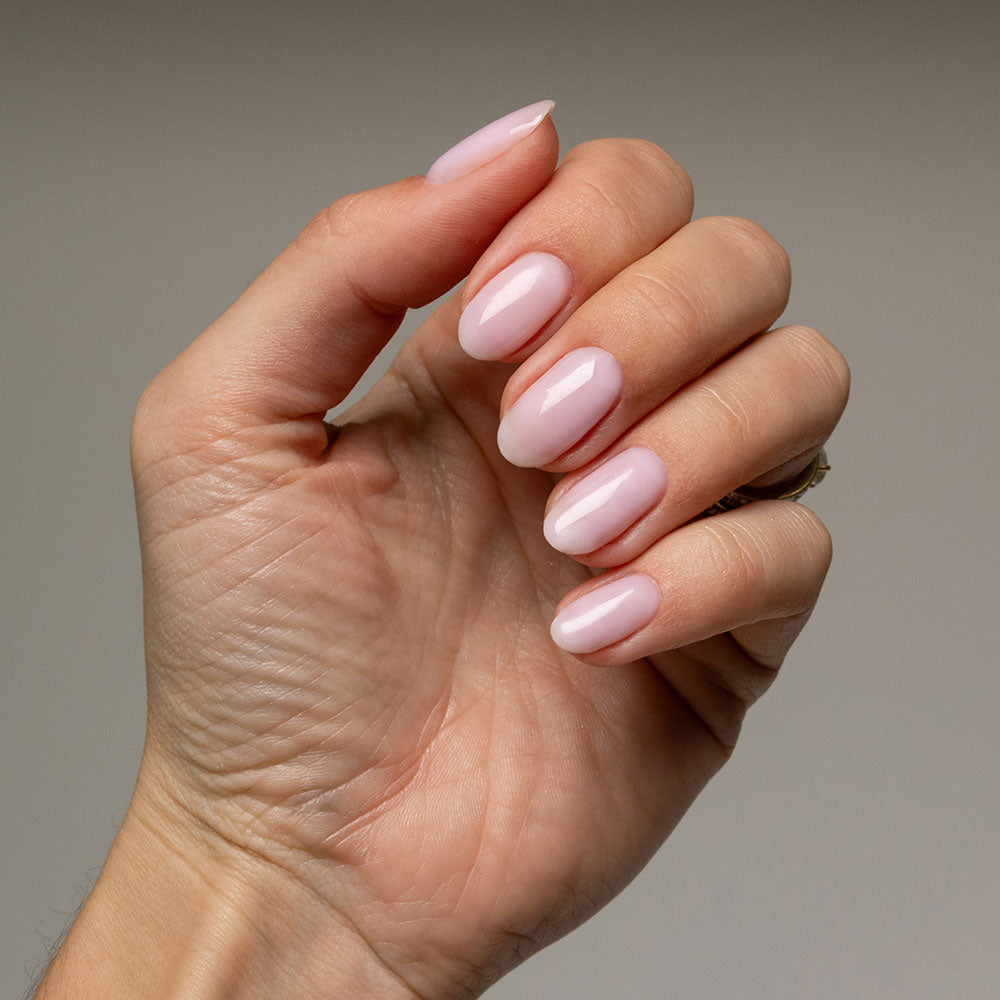
Unlike your final Top Coat layer, your Base Coat, Builder Gel and Colour Coat layers will remain slightly tacky after curing to ensure the following layer adheres properly. Once your final coat is cured, you’re all set. You’ll have a high-shine manicure that lasts 2+ weeks. No smudging around here.
How do you apply Gelous Gel Nail Polish?
Once your nails are fully prepped, make sure your manicure station is ready and begin your application with a thin, even layer of Base Coat. Begin slightly above the cuticle and gently push the Gel Polish towards it, leaving a small gap. Pull one stroke up the centre, one on each side, and finish by capping the free edge with a light horizontal stroke across the tip. Apply thin, even coats to ensure full curing and minimise the risk of lifting or peeling. If any Gel Polish gets on the skin, remove it before curing using an Orangewood Cuticle Stick, Lint Free Wipe or Nail Art Brush dipped in Gel Nail Polish Remover. When complete, cure for 60 seconds in your UV/LED Gel Nail Lamp. If your nails are prone to flaking, splitting, thinness or brittleness, use Rubber Base Coat instead. It creates a thicker, more even surface for colour to adhere to and comes in clear, or tinted shades to match your style.
For those without naturally thick and strong nails, a layer or two of Builder Gel should follow, with a 60-second cure time under the UV/LED Gel Nail Lamp for each coat. For longer nails or added strength, you may wish to build an apex, which supports the nail structure and reduces breakages. In this case, use the low heat mode to cure for 99 seconds. Watch our Builder Gel Application Tutorial for guidance. Builder Gel is not only great for adding strength but it also reduces the likelihood of nail bending and breaking. That's a big yes from us!
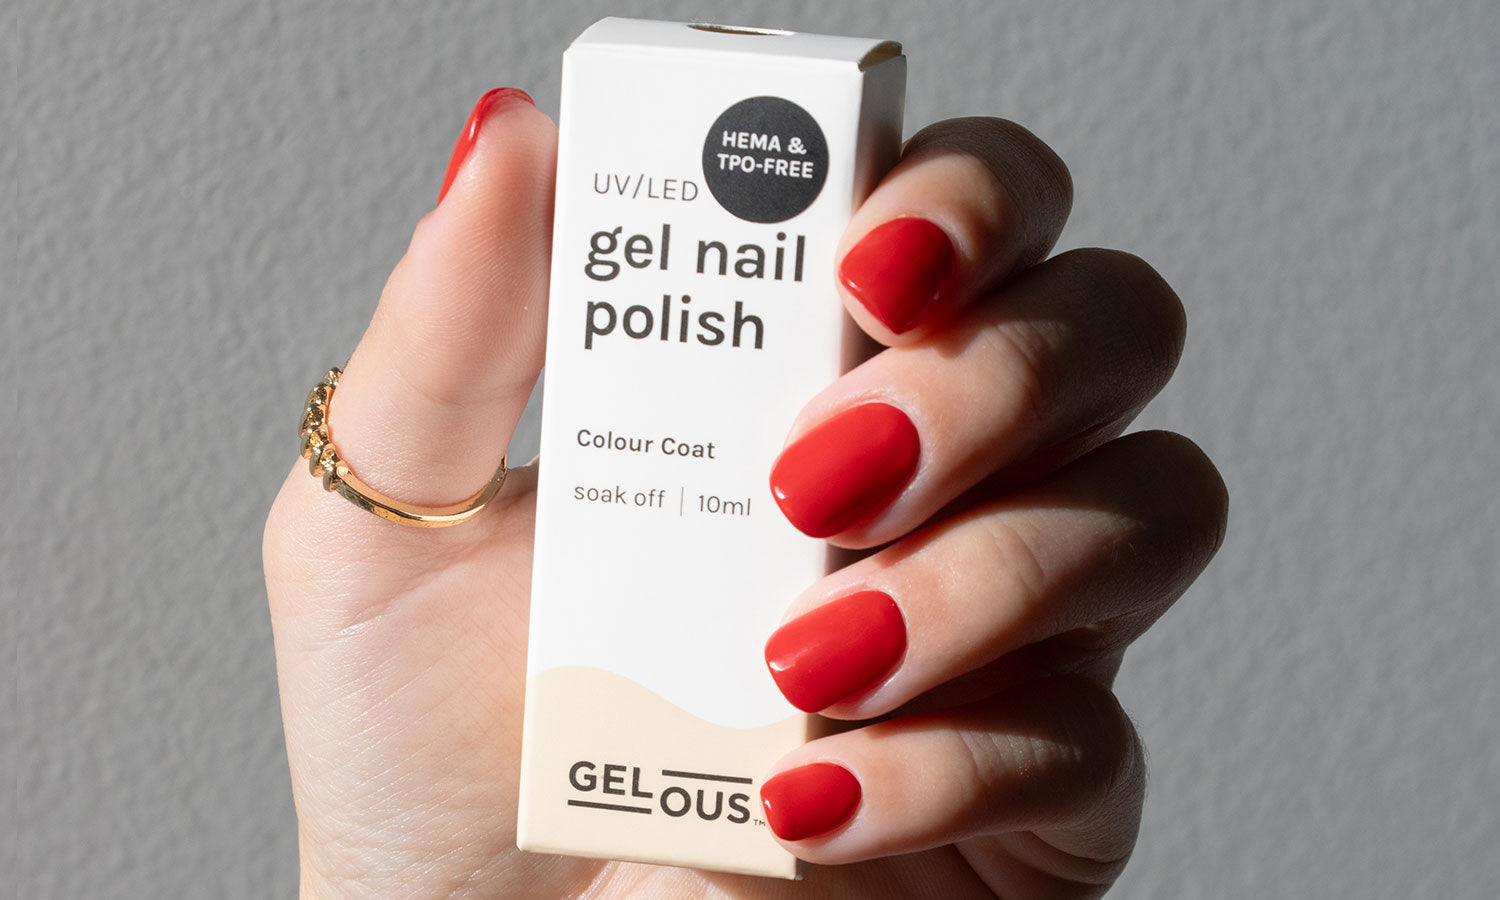
Following this, the next step is to apply your Gelous Colour Coat. Opaque shades will typically need 2–3 thin coats, whereas sheer or semi-opaque shades may only need one. Cure each coat for 60 seconds under the Gelous UV/LED Gel Nail Lamp. Complete your manicure by applying a Top Coat of your choice and finishing with a final 60 second cure. We have a range of Top Coat options, including glossy, matte, shimmer, rubber and glow in the Dark, so you can finish your gel manicure with the perfect personalised touch.
Keep in mind, one of the perks of Gel Nail Polish is it will only dry when placed under the UV/LED Gel Nail Lamp, so you can ensure each layer of your Gel Nail Polish is perfect before curing! If you’d like to see the full process in action, you can follow along with our step-by-step YouTube tutorial on how to apply Gelous Gel Nail Polish.
How should I properly care for my nails after a Gelous gel manicure?
Aftercare is key to getting the most out of your manicures. Regularly applying our Cuticle Oil, followed by a high-quality hand cream, helps replenish and nourish the nail area, supports healthy nail growth and boosts the longevity of your gel mani.
Protect your gel manicure by avoiding activities that put unnecessary pressure or chemicals on your nails, such as dishwashing or cleaning without gloves, or using your nails as tools. These habits can compromise durability and impact the smooth, glossy finish of your manicure.
A consistent post-care routine makes a big difference in taking your at-home gel manicure from good to great, so keep these nurturing tips in mind for a stunning, salon-quality gel mani that’ll look its best for longer.