Gel Nail Lamp User Guide

Gel Nail Lamp

  1. Remove the Gelous Gel Nail Lamp and DC Adaptor from the packaging.
  2. Remove the blue film on the base plate and the clear film over the timer.
  3. Connect the DC Adaptor.
  4. Plug the DC Adaptor into a switched off power point.
  5. Switch the power point on once the DC Adaptor is plugged in. Do not remove and insert the DC Adaptor while the power point is turned on, as this could cause sparking and/or short-circuiting.
  6. After painting your nails with each coat of the Gel Nail Polish, place your hand or foot inside the Gel Nail Lamp. Make sure your thumb and all your fingers are relatively flat, or cure your thumb and fingers separately.

Curing options:

  • 10 seconds: Press the 10S button to cure small nail art designs, such as dots or lines.
  • 30 seconds: Press the 30S button to cure large nail art designs, such as flowers or checkers.
  • 60 seconds: Press the 60S button to cure regular coats of Gel Polish.
  • Smart timer: Place your hand inside to auto-start the timer for up to 120 seconds.
  • Low heat mode: Press the 99S low heat mode button to cure at 12W for 50 seconds, then 24W for 49 seconds. Use for curing Builder Gel, if you have sensitive nails, or if you experience heat spikes.

Travel Gel Nail Lamp

  1. Remove the Gelous Travel Gel Nail Lamp and USB-A to USB-C cable from the packaging.
  2. Plug the USB-C end of the cable into the Travel Gel Nail Lamp. Plug the USB-A end of the cable into a wall charger, computer port, laptop port, or power bank.
  3. After each coat of Gel Nail Polish, place your hand or foot under the Travel Gel Nail Lamp. If your thumbs do not fit under the Travel Gel Nail Lamp, cure them both separately.

Curing options:

  • 60 seconds: Press the power button to cure regular coats of Gel Nail Polish.
  • 120 seconds: Hold down the power button to cure thicker coats, such as Rubber Base Coat or Builder Gel.
  1. Unplug before cleaning.
  2. Wipe with a lightly dampened cloth and air-dry.

Although 365+405nm is a widely supported curing specification, we strongly advise against mixing brands—whether that's using other polishes with our lamp, or our polish with another lamp. Mismatched products may lead to incomplete curing, poor wear, or potential nail damage.

Our Gel Nail Lamp uses 365+405nm dual-wavelength technology, meaning it emits two specific wavelengths of UV light to perfectly activate the photoinitiators in Gelous Gel Nail Polish. Each Gelous formula is carefully developed to cure at these exact wavelengths, ensuring safe, thorough, and even curing every time.

Tutorials You Can’t Miss

From application to common beginner mistakes and removal tips, these tutorials cover the essentials and more.

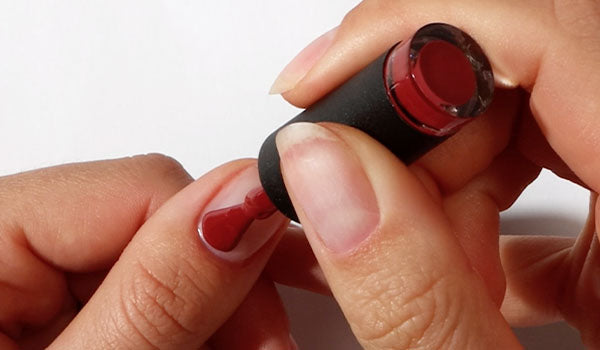
Applying red Gel Nail Polish at home - photographed in New Zealand

How to Apply Gel Nail Polish

From prep to polish, learn how to apply gel manicures at home with this easy step-by-step tutorial. Follow along to achieve long-lasting, salon-quality results in the comfort of your own home.

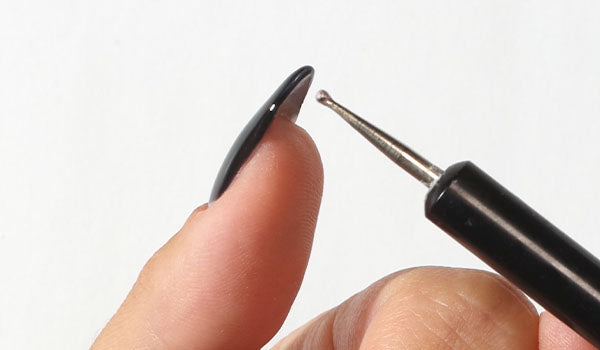
Pointing at a gel nails free edge - photographed in New Zealand on model

Six Common Mistakes Beginners Make

We’ll walk you through the most common application mistakes that can lead to lifting, chipping, and premature wear. Follow along and find out how to make your DIY gel manicure last longer.

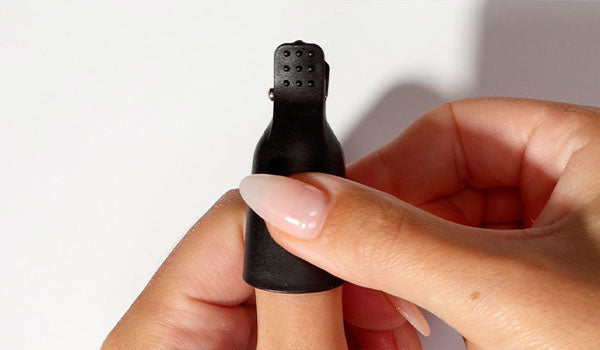
Removing Your Gel Nail Polish Using The Soak-Off Method - photographed in New Zealand

How to Remove Gel Nail Polish Using the Soak-Off Method

Learn how to remove Gel Nail Polish at home using the soak-off method. This beginner-friendly guide walks you through each step for safe, effective removal.