Festive Five Day 3: $99 Advent Calendars!

Free U.S. shipping for orders $125+

Summer Vacay Collection just released!

How It Works

Gelous Gel Nail Polish paints on as effortlessly as ordinary nail polish, but lasts for over two weeks once cured. Under the UV/LED Gel Nail Lamp, it undergoes a curing process, transforming from a liquid gel into a hard, durable coating. This locks in its glossy finish that dazzles for weeks, for a manicure that lasts longer, feels stronger, and shines like nobody's business.

Gelous Gel Nail Polish paints on as effortlessly as ordinary nail polish, but lasts for over two weeks once cured. Under the UV/LED Gel Nail Lamp, it undergoes a curing process, transforming from a liquid gel into a hard, durable coating. This locks in its glossy finish that dazzles for weeks, for a manicure that lasts longer, feels stronger, and shines like nobody's business.

Everything you need for at-home gel manicures

Your path to perfect gel nails at home begins with a Gel Nail Polish Kit.

Gelous Gel Nail Lamp and application of Daydreaming Gel Nail Polish - Photographed in New Zealand

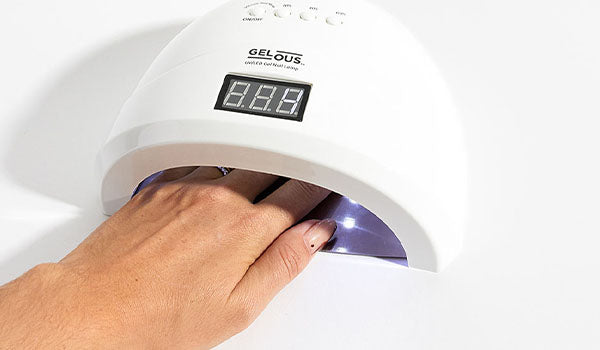
Gel Nail Lamp

The key to gel manicures, our Gel Nail Lamp is designed to work perfectly with our Gel Nail Polish, curing it quickly and effectively. 

Gelous Pastels Gel Nail Polish Pack - Photographed in New Zealand on model

Gel Nail Polish

A Base Coat, Colour Coat and Top Coat are essential. Apply Nail Primer before your Base Coat for better adherence, and a Builder Gel after your Base Coat for extra strength.

Gelous Removal Tools and Accessories - Photographed in New Zealand

Tools

For application and removal, you'll need a Nail File, Orangewood Cuticle Sticks, Lint-Free Wipes and Cuticle Oil.

Gelous Gel Nail Polish Remover and Removal Tools - Photographed in New Zealand

Remover

Use our Nail Polish Remover and Manicure Removal Clips to remove your Gel Nail Polish traditionally, or try our Express Gel Nail Polish Remover for a quick alternative. 

How to Apply Gel Nail Polish

Let's take it step-by-step.

Gel Nail Polish Application Step - Washing Hands - Photographed in New Zealand on model

Step One

Around 15-30 minutes before starting your gel manicure, wash your hands and apply sunscreen. Take care to avoid getting sunscreen on your nails, and wipe off if you do.

Gel Nail Polish Application Step - Prepping Nails - Photographed in New Zealand on model

Step Two

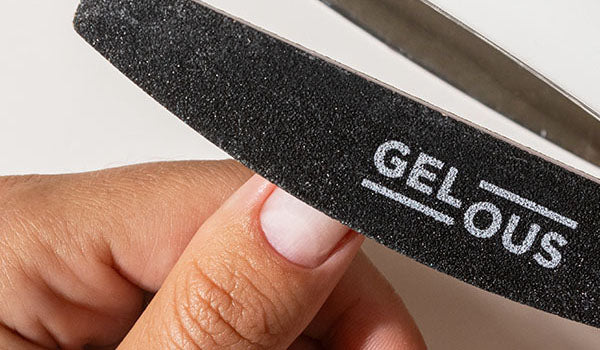
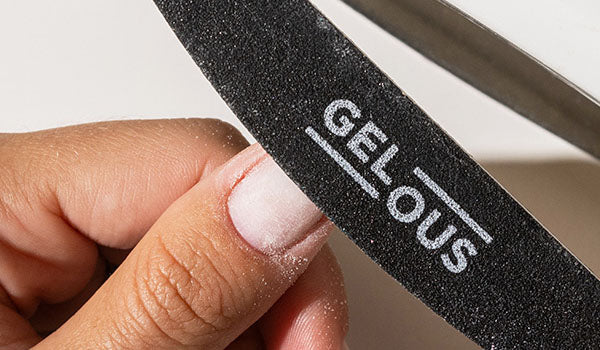
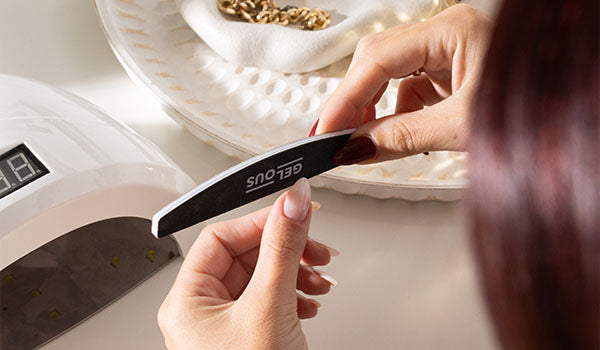
Use the curve of your Nail File to push back your cuticles, and the fine-grit side to shape your nails. With the same side, buff the entire nail surface, roughing it up to prevent lifting.

Gel Nail Polish Application Step - Cleaning Nails - Photographed in New Zealand on model

Step Three

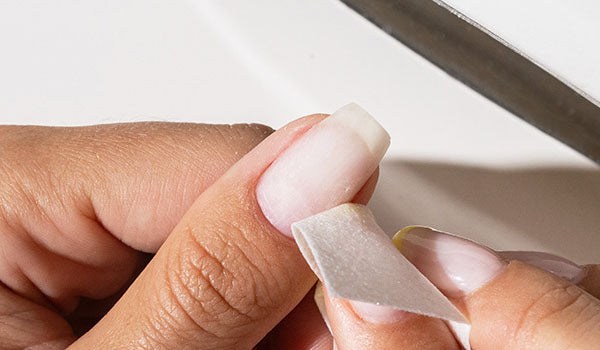
Apply Nail Polish Remover to a Lint Free Wipe and thoroughly clean the surface of your nails to dehydrate them. For added adherence, you can then optionally apply Nail Primer.

Gel Nail Polish Application Step - Base Coat - Photographed in New Zealand on model

Step Four

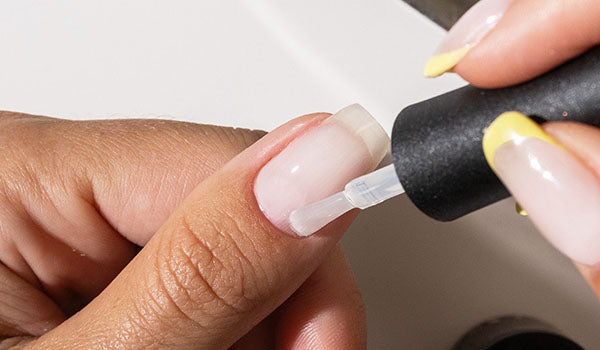
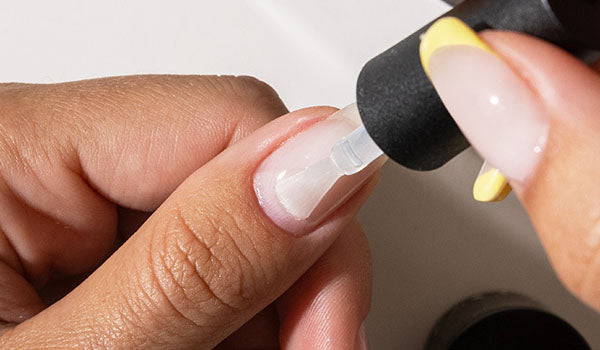
Apply a thin coat of Base Coat to your nails and cap the free edge. Cure for 60 seconds under the UV/LED Gel Nail Lamp.

Application Tips

Application Tips

  • When applying, leave a small gap between the Gel Nail Polish and your cuticle.
  • Aim to avoid getting any Gel Nail Polish on your skin or cuticle, however if you do, remove it with an Orangewood Cuticle Stick before curing.
  • Your Base Coat and Colour Coat should remain slightly tacky after curing, so once the following layer is applied it sticks to the layer below.
Gel Nail Polish Application Step - Applying Builder Gel (BIAB) - Photographed in New Zealand on model

Step Five

For a super strong gel manicure, apply 1-2 thin coats of Builder Gel and cap the free edge. Cure each coat for 60 seconds under the Gelous UV/LED Gel Nail Lamp.

Gel Nail Polish Application Step - Applying Colour Coat - Photographed in New Zealand on model

Step Six

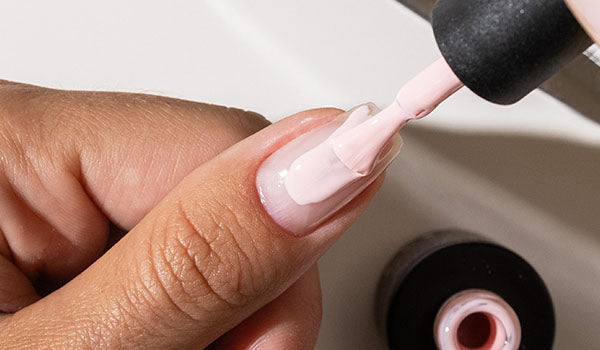
Apply 2-3 thin coats of Gelous Colour Coat, making sure to cap the free edge. After each coat, cure for 60 seconds under the Gelous UV/LED Gel Nail Lamp.

Gel Nail Polish Application Step - Applying Top Coat - Photographed in New Zealand on model

Step Seven

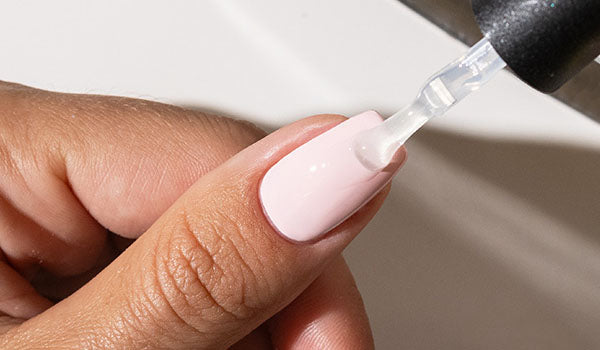
Apply a thin coat of Top Coat and cap the free edge. Cure for 60 seconds under the UV/LED Gel Nail Lamp. After the final cure, your Gel Nail Polish will be hard and smooth.

Gel Nail Polish Application Step - Applying Cuticle Oil - Photographed in New Zealand on model

Step Eight

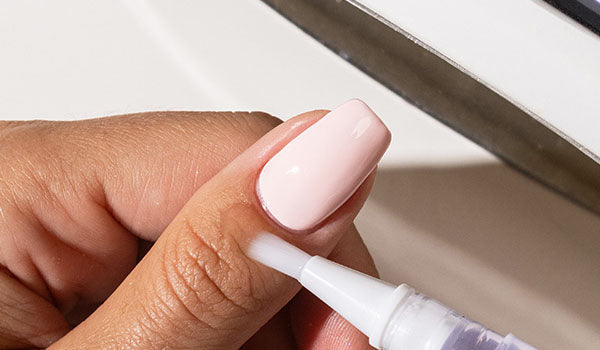
Apply Cuticle Oil around your nails and rub into your skin to nourish and moisturise. Make sure to avoid cleaning without gloves and picking at your nails.

How to Remove Gel Nail Polish

Let's break it down.

Gel Nail Polish Removal Step - Buffing Off Top Coat - Photographed in New Zealand on model

Step One

Use the rough-grit side of your Nail File to gently buff away the shiny Top Coat of your Gel Nail Polish.

Gel Nail Polish Removal Step - Removing Gel Manicure with Manicure Removal Clips - Photographed in New Zealand on model

Step Two

Soak a Lint Free Wipe in Nail Polish Remover and place it on top of your nail. Clip on the Manicure Removal Clips, and press down once your finger is inside. Leave on for approximately 15 minutes, then remove. For a faster solution, try our Express Gel Nail Polish Remover.

Gel Nail Polish Removal Step - Removing Gel Manicure with Orangewood Cuticle Sticks - Photographed in New Zealand on model

Step Three

Gently push the Gel Nail Polish off with an Orangewood Cuticle Stick, or pull away using a Gel Nail Polish Removal Tool, always working in the direction your nail grows. If the polish doesn't come off easily, soak again.

Gel Nail Polish Removal Step - Nourishing Nails With Cuticle Oil - Photographed in New Zealand on model

Step Four

Apply Cuticle Oil around your nails and rub into your skin to nourish and moisturise. Make sure to avoid cleaning without gloves and picking at your nails.

Tips & Tricks

Expert tips for a flawless finish.

Use compatible products

Use all Gelous products (Base Coat, Colour Coat, Top Coat, and Gel Nail Lamp) to ensure compatibility.

Careful preparation

Thoroughly buff, clean, and dehydrate your nails with Nail Polish Remover before application for ultimate adhesion.

Apply away from sun

Apply your Gel Nail Polish away from sunlight and your Gel Nail Lamp when turned on to avoid it curing on the brush.

Apply thinly

Apply your Gel Nail Polish in thin, even coats, leaving a gap between the Gel Nail Polish & cuticle to prevent lifting.

Avoid skin contact

Remove any Gel Nail Polish on your skin before curing to prevent reactions or allergies.

Use a strengthener

Use Builder Gel or Rubber Base Coat if your nails are weak or flaky.

Cap your coats

Cap every coat of Gel Nail Polish by running the brush horizontally over the free edge of your nail.

Practice aftercare

Avoid washing dishes or using cleaning products without gloves, and use Cuticle Oil daily.

Gelous Pretty in Pink gel manicure with Gel Nail Lamp and Cuticle Oil - Photographed in New Zealand on model

Why is Gel Nail Polish superior to regular Nail Polish?

Why is Gel Nail Polish superior to regular Nail Polish?

Lasts Longer: Gelous Gel Nail Polish lasts for over two weeks without any fading, peeling or chipping. Whilst regular nail polish only lasts for 2-3 days before showing wear and tear, with Gel Nail Polish you’ll only need to redo your nails simply because they’ve grown out. Hello, manicures that stay flawless for weeks, not days.

No Smudging: After curing your Top Coat, you're all set. You can carry on with your day with a smudge-free gel manicure. Life isn't perfect, but your gel mani definitely can be.

Fast Drying: Instead of waiting for each coat to dry, it is 'cured' under the Gel Lamp for 60 seconds. Your mani transforms from liquid to luxe in less time than it takes to scroll.

Thicker and Stronger: Built to last, Gel Nail Polish adds a layer of protection to your nails, and by using Gelous Builder Gel you can add extra thickness and strength to your manicure. Time to grow with confidence.

Our Recent Reviews

Discover why thousands adore Gelous.