How To Apply & Remove Rubber Base Coat Nail Tips
Follow our step-by-step guide to applying and removing Nail Tips with Rubber Base Coat.
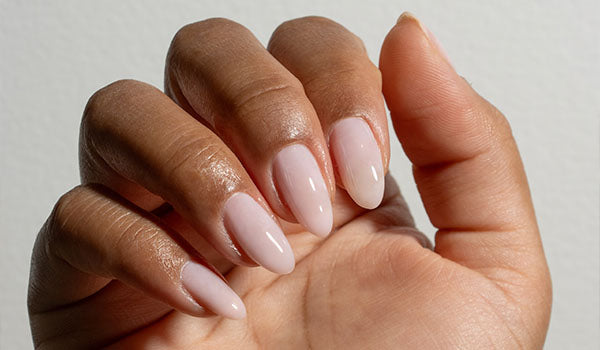
Learn how to apply Gel Nail Polish at home in 8 simple steps, or follow our full guide for more detail.
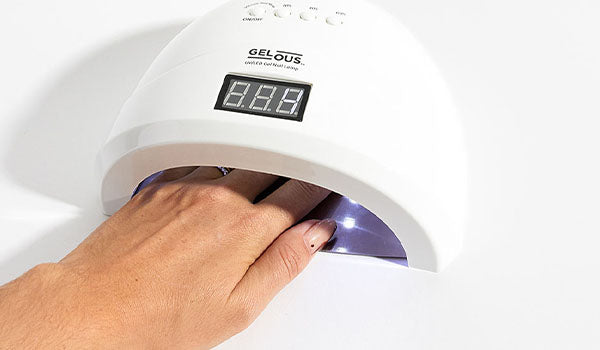
Gelous Gel Nail Polish paints on as effortlessly as ordinary nail polish, but lasts for over two weeks once cured. Under the UV/LED Gel Nail Lamp, it undergoes a curing process, transforming from a liquid gel into a hard, durable coating. This locks in its glossy finish that dazzles for weeks, for a manicure that lasts longer, feels stronger, and shines like nobody's business.

Tidying
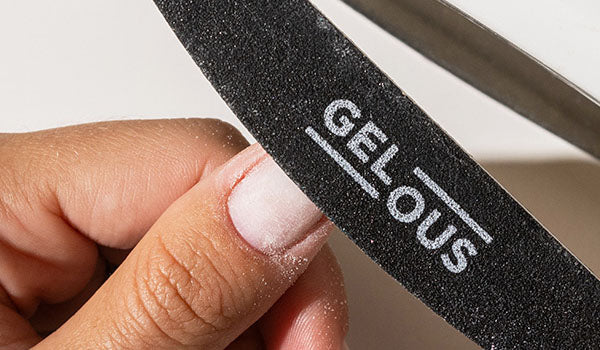
Soften cuticles with Cuticle Remover, push them back, then trim with Gelous Cuticle Nippers. Clip nails and shape with the 180 grit Gelous Nail File, smoothing edges.
Buffing
Buff each nail with the 180 grit side of your Nail File until evenly dull, focusing on the sides and cuticle area to prevent lifting, then wash and dry your hands thoroughly.

Dehydrating
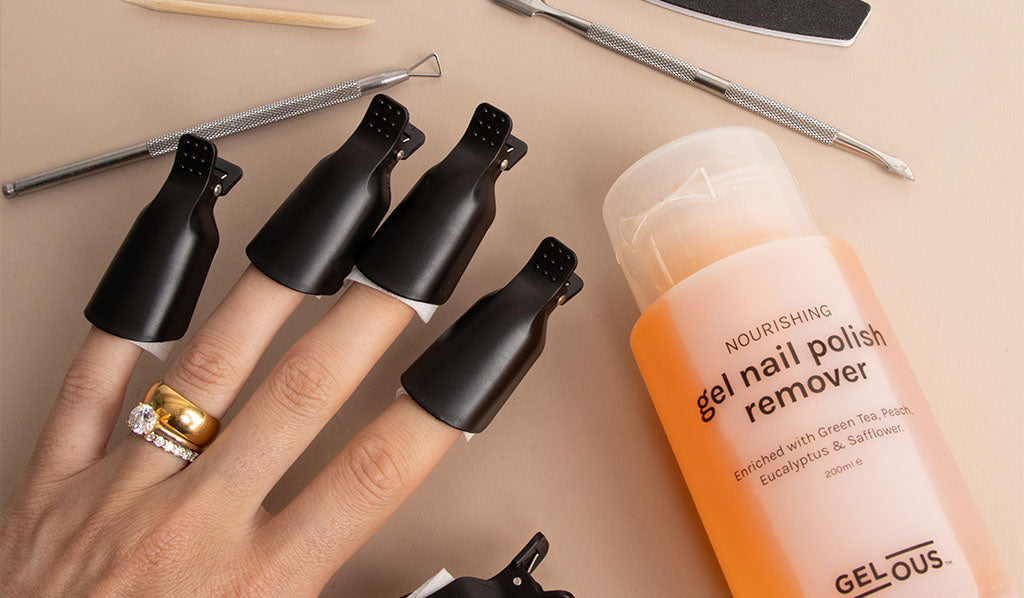
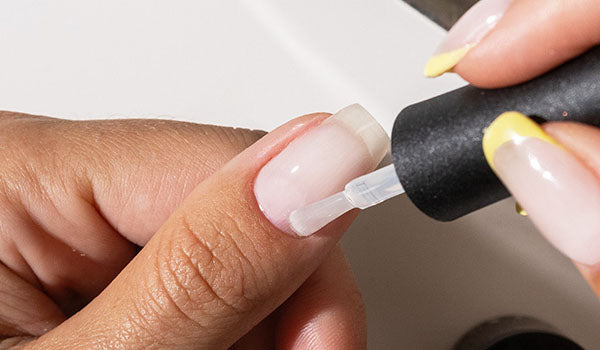
Use a Lint Free Wipe moistened with Gel Nail Polish Remover to clean nails, removing dust and oils. For extra adhesion, apply pH Bond and Nail Primer and let air-dry.
Base Coat
Apply a thin coat of Base Coat to your nails and cap the free edge. Cure for 60 seconds under the UV/LED Gel Nail Lamp. This layer will remain tacky to help the next coat adhere.
Builder Gel
For added strength, optionally apply 1–2 thin coats of Builder Gel and cap the free edge. Cure each coat for 60 seconds under the UV/LED Gel Nail Lamp. Each coat will remain tacky.
Colour Coat
Apply 1–3 thin coats of Colour Coat and cap the free edge. After each coat, cure for 60 seconds under the UV/LED Gel Nail Lamp. Each coat will remain tacky.
Top Coat
Apply a thin coat of Top Coat and cap the free edge. Cure for 60 seconds under the UV/LED Gel Nail Lamp. After the final cure, your Gel Nail Polish will be hard and smooth.
Cuticle Oil
Apply Cuticle Oil around your nails and rub into your skin to nourish and moisturise. Protect your manicure by wearing gloves when cleaning and avoiding picking at your nails.

See the full Application Guide for detailed instructions.
Everything you need to know to apply and remove Gelous Nail Tips—step by step.

Follow our step-by-step guide to applying and removing Nail Tips with Rubber Base Coat.

Learn how to apply and remove Gelous Nail Tips with Sticky Tabs.
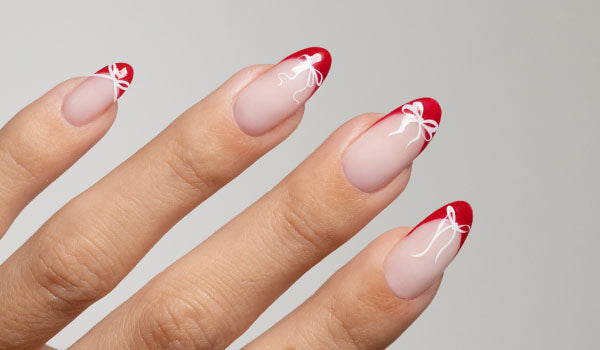
Master French tips, chrome effects, velvet nails & more with step-by-step guides.

Follow our guide for smooth application, building structure, and creating a flawless apex.

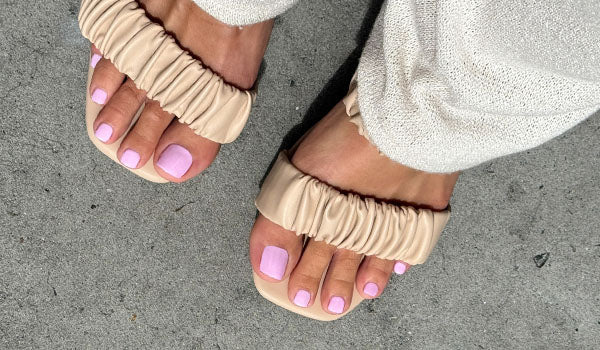
Simple steps for smooth, shiny, salon-quality toes in minutes.

Discover how to achieve a soft, textured velvet gel nail finish with simple techniques.

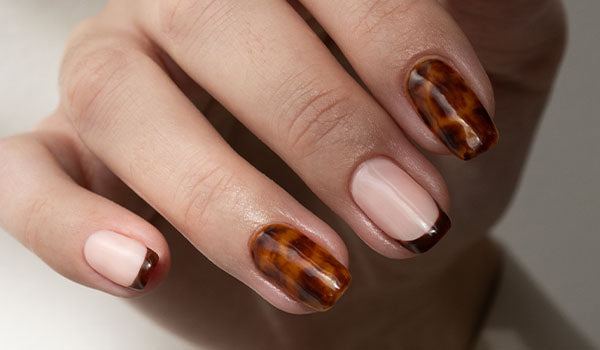
Easily create marble, tortoiseshell and watercolour nail art with Blooming Gel.

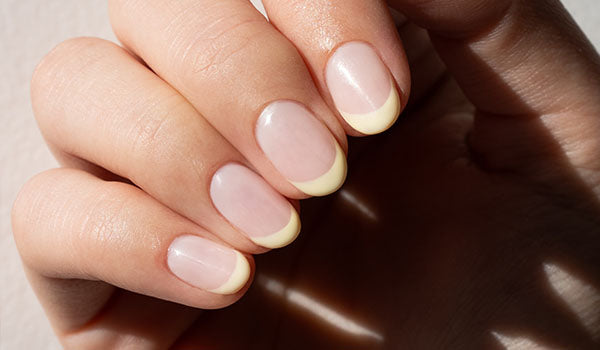
Master crisp, even French tips using the Silicone Nail Stamper and French Nail Tip Guides.

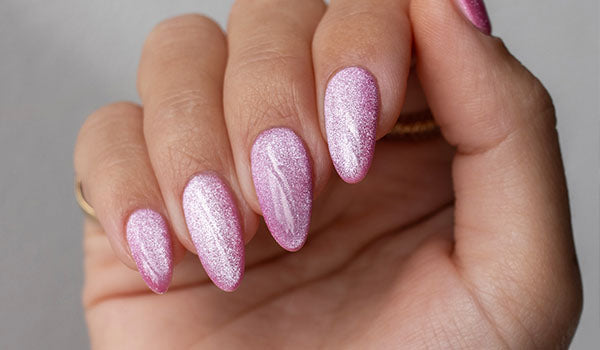
Achieve a flawless mirror-like finish with Chrome Powder.

See how to repair and reinforce nails using Fibre Nail Glue.

Guidance for flawless application of Stickers, Rhinestones, Pearls & Charms.


Removing your Gel Nail Polish is simple and damage-free when done correctly. The soak-off method is a gentle, beginner-friendly way to remove your manicure at home, while the E-File method offers a faster option once you’re more confident.
Follow our step-by-step guide for safe, effective removal and keep your nails healthy between manicures.
Expert advice to prep, apply, and maintain your gel manicure for salon-quality results.
Use Gelous Base Coat, Colour Coat, Top Coat, and Gel Nail Lamp for guaranteed compatibility and best results.
Apply your Gel Nail Polish away from sunlight and your Gel Nail Lamp’s light to prevent it from curing on the brush.
Push back cuticles, shape nails, and gently buff to create a dull, slightly rough surface. Dehydrate nails, then apply pH Bond and Nail Primer for ultimate adhesion.
Apply thin, even layers of polish, curing each for 60 seconds to ensure proper adhesion and durability.
Leave a small gap near cuticles and cap the free edge of every layer to prevent lifting and chipping.
Remove any Gel Nail Polish on your skin before curing to prevent reactions or allergies.
Use Rubber Base Coat or Builder Gel to protect and reinforce weak or flaky nails.
Wear gloves for cleaning and apply Cuticle Oil daily to keep nails hydrated and prevent peeling.
Learn how to correctly use and care for your Gelous devices.

Discover how to use your Gel Nail Lamps correctly and cure each layer evenly.

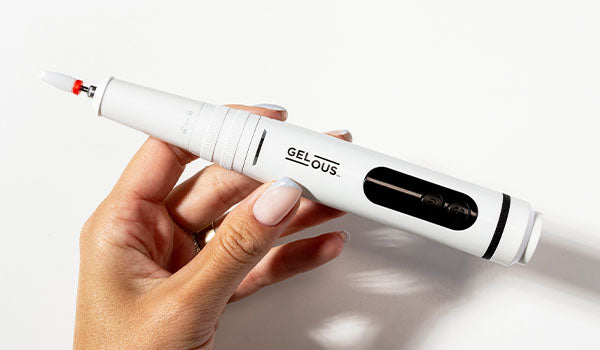
Learn E-File Pen techniques, correct usage and troubleshooting to keep your nails protected.

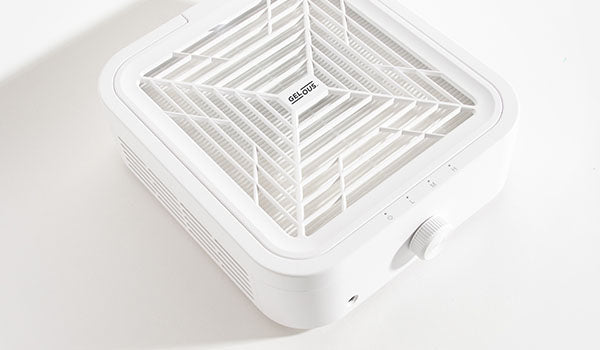
Find out how to operate and maintain your dust collector for a cleaner, safer workspace.